- Eldar Wraithknights. One of the main reasons Eldar can compete so well at the top tables is this guy. He's very big indeed- Toughness 8 renders him immune to weapons Str 4 or less, while 6 wounds ensures he's going to stick around. He only has a 3+ armour save, but with the crazy MC terrain rules he can almost always find a corner of a woods or some rubble to dip his toe into and grab a 5+ or better cover save. He has 3 loadouts, but the default is by far the most common- 2 Str 10 AP2 shots that cause instant death on 6s to wound. He's great in melee too- 4 attacks and Initiative 5, again at Str 10 AP2, ensures he'll always hurt something.
Quite simply, every Eldar army should take one, as he solves so many problems that he's impossible to leave out.
- Tau Riptide. With Toughness 6 and 5 wounds, along with a 2+ armour save and 5++ he's almost as tough as the Wraithknight. Of note is the "Nova Reactor" it has- every turn it can choose to try and overcharge one of its systems on a 3+ (losing a wound if it fails). This either greatly improves its primary weapon, allows it to fire its secondary weapon twice, allows it to jump 4d6" in the assault phase, or upgrades its invulnerable save to a 3++.
There are a few builds more commonly seen that others- Heavy Burst Cannon/Velocity tracker/SMS/Earth Caste Pilot Array (reroll failed Nova charge rolls) is pretty fearsome anti-flyer/anti-FMC and the ECPA is probably the only thing that makes the Heavy Burst Cannon worth using. The most common is probably Ion Accelerator/Early Warning Override/Fusion Blaster though; it's one of the best Deep Strike deterrents in the game and a key part of the "Tau Interceptor Army of Doom".
Riptides are very common in Tau lists for the same reason as Wraithknights in Eldar lists- they just solve problems that the army wouldn't be able to otherwise.
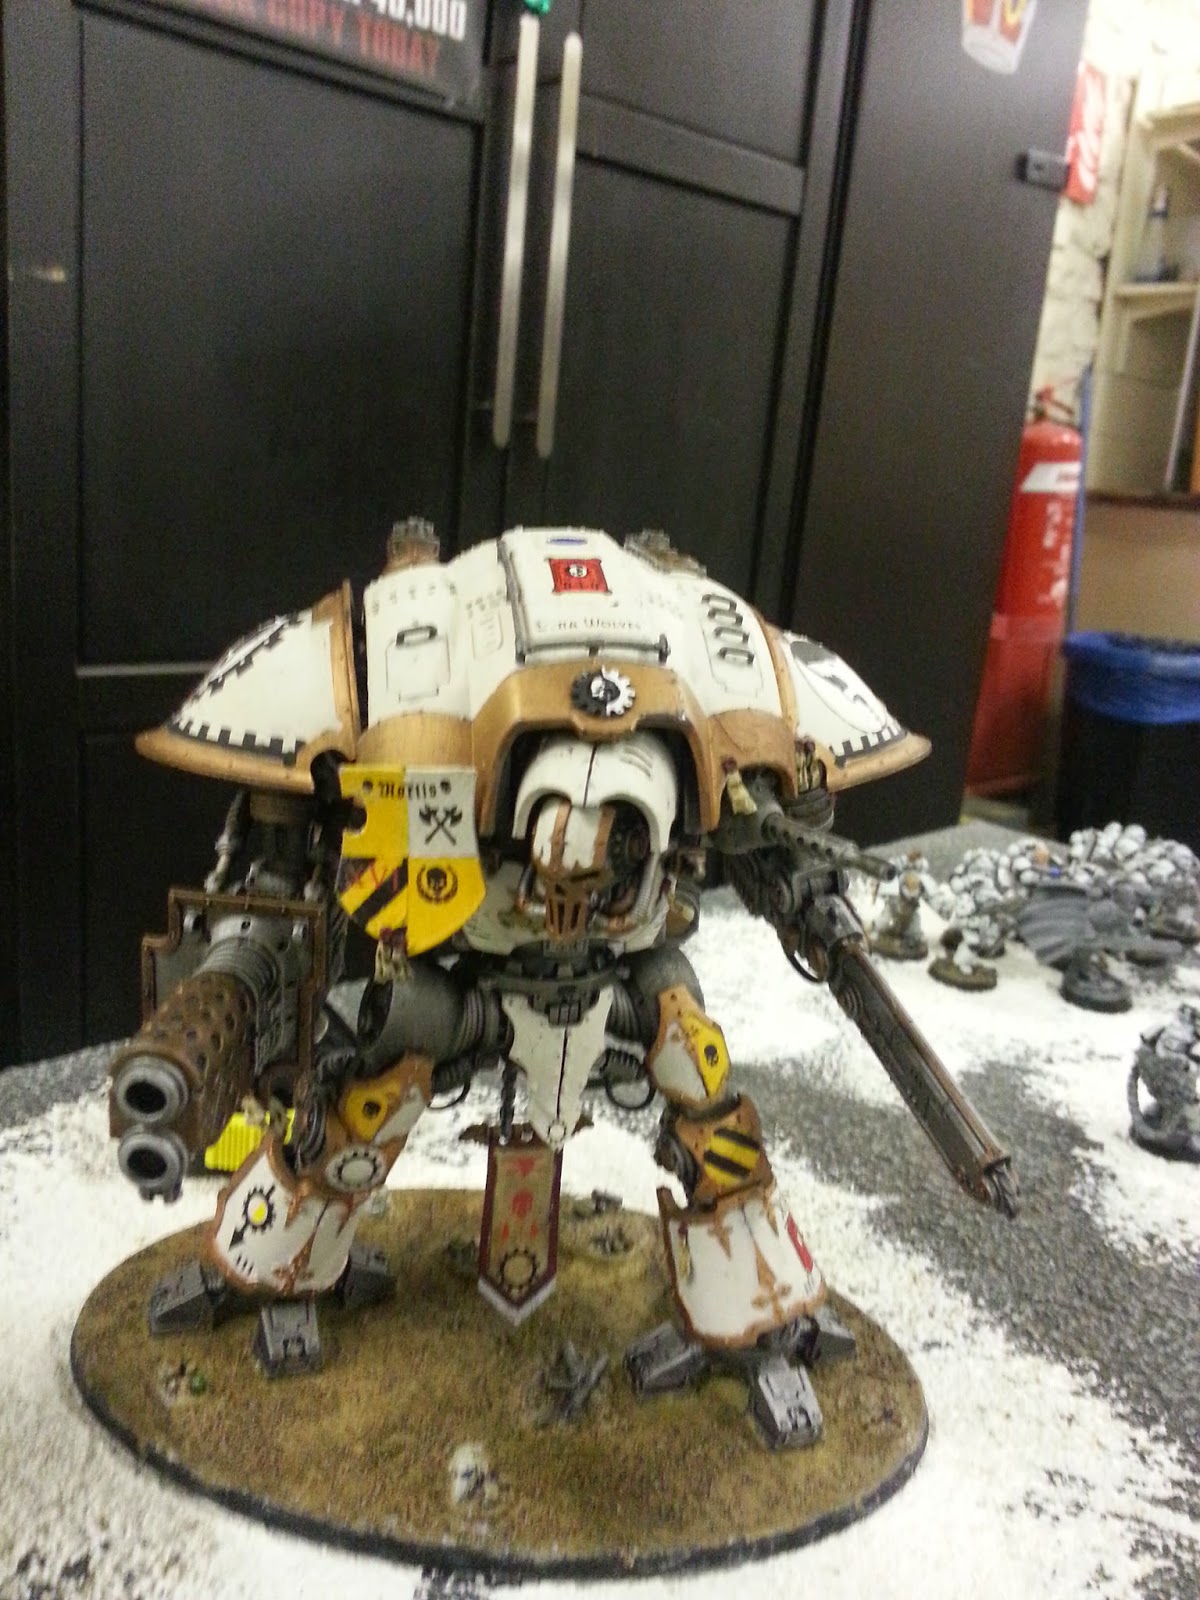
- Imperial Knights. These "Dreadnoughts on steroids" are one of the first Super Heavies to see widespread use at tournaments around the world. Their stats are pretty impressive: they have a 12" move, Armour 13/12/11 and 6 Hull Points, ignoring any result other than "Explodes" (which just removes an extra D3 HP). For weaponry either have a 36" large blast Melta Cannon, or a Battlecannon that shoots twice. In the other hand they've got a Str D chainsword, able to comfortably punk out almost any other MC in the game. Worth noting is the Heavy Stubber that's allowed to split fire from the other weapons- normally this will shoot whatever the Knight plans to charge, while the main gun blows up something else. In melee they can also make Stomp attacks- D3 small blasts, the first touching the Knight and then subsequent blasts within 3" of the previous, allowing them to be chained up to 15" away. The stomp table can be brutal, with most results doing reasonably strong hits, but a 6 on the table just removes everything under the template, no questions asked...
Regardless of the good profile, what makes Knights useable is their special "Ion Shield" rule. This allows them to choose a facing at the start of each enemy shooting phase, and gain a 4++ against any damage to that facing for the turn. This stops firepower armies just blowing them away with ease, and takes them from "pretty good" to "table controlling".
- Pacific Rim. This is more a style of army that a particular unit, and is named after the blockbuster film. It contains the "Adamantine Lance" formation- 3 Imperial Knights, and while any is within 3" of another they can re-roll their Ion Shield save. A Pacific Rim army list will have an Adamatine Lance formation and then 2-3 Riptides or Wraithknights, resulting in an army full of overwhelming firepower, great melee ability and obscene durability. This is a very tough matchup for many armies- most Deathstars can't really deal with the threat of being Stomped to death, and it can often kill all of the tools you've brought to deal with heavy armour/MCs before you can use them effectively.
So what should you do if you find yourself matched up against any of the above? These are some thoughts to get the ball rolling:
Fight fire with fire. Linked to the above, but a less subtle strategy- these models are widely feared for a reason, and if you can include them in your army there's no reason not to! Unsurprisingly they work well as counters to themselves.
Measure your threat ranges. Both Imperial Knights and Wraithknights do the vast majority of their damage in melee, so you need to make sure you're out of charge range as often as possible. Not a 10" charge, or even an 11" charge, but >12" away- it's very rarely worth the risk of losing a unit for a very small distance gain. The only exception to this is to bait them- if you position a good (but not vital) unit just over 9" away, that requires a 10" charge. Without fleet that's a pretty low chance (~17%), but many players will take the bait given the right target. After they (normally) fail the charge, you need to have something ready to counter with- a bunch of meltaguns, force weapons, grav guns, etc depending on what it is you're calling. Riptides are primarily shooting platforms with a long weapon range, and they can move and shoot, so this section isn't so important against them. However it's worth noting that you should be careful with its secondary weapon systems- a double shot SMS is great at clearing out vulnerable units and doesn't need line of sight, so make sure to measure far enough away.
Do you need to kill it? If your opponent is playing smart with their big hitter, they'll make it simultaneously difficult to deal with and vital to stop. However, you may find that sometimes you don't actually need to deal with it, even if only for a few turns. They may have deployed too far back, or away from viable targets, or you may be able to outmanoeuvre it. If this is the case, then focus on the rest of their army while you can, then turn your attention to the big hitter late game and/or focus on winning the mission.
Knight Specific- defeating the Ion Shield. Ion shields are a pain, doubly so with rerolls from Adamantine Lance. However, it only covers one facing, so use this to your advantage. Position units in both side arcs if you can, and something heavy hitting in the front to encourage them to shield their front. If you can hit both sides at once, it's simply 6 HP at AV 12, which you should be able to put down with ease. Remember as well that a walker that shoots in the shooting phase has to turn to face its target (unlike MCs), so use this to help get side armour (or even rear armour) shots.
So there we have it- my top strategies for dealing with the enemy's biggest and best! Thanks for reading if you did, and if not then please feel free to check out the first two posts as well. This article should wrap up the "Road to the GT: Tournament Tactics" series, and in good time too; the heat is less than two weeks away, and I've still got to paint up the a load of Dire Avengers and a 5th Wave Serpent...
SimonW